6 Essential Tips for Effective Drywall Repair
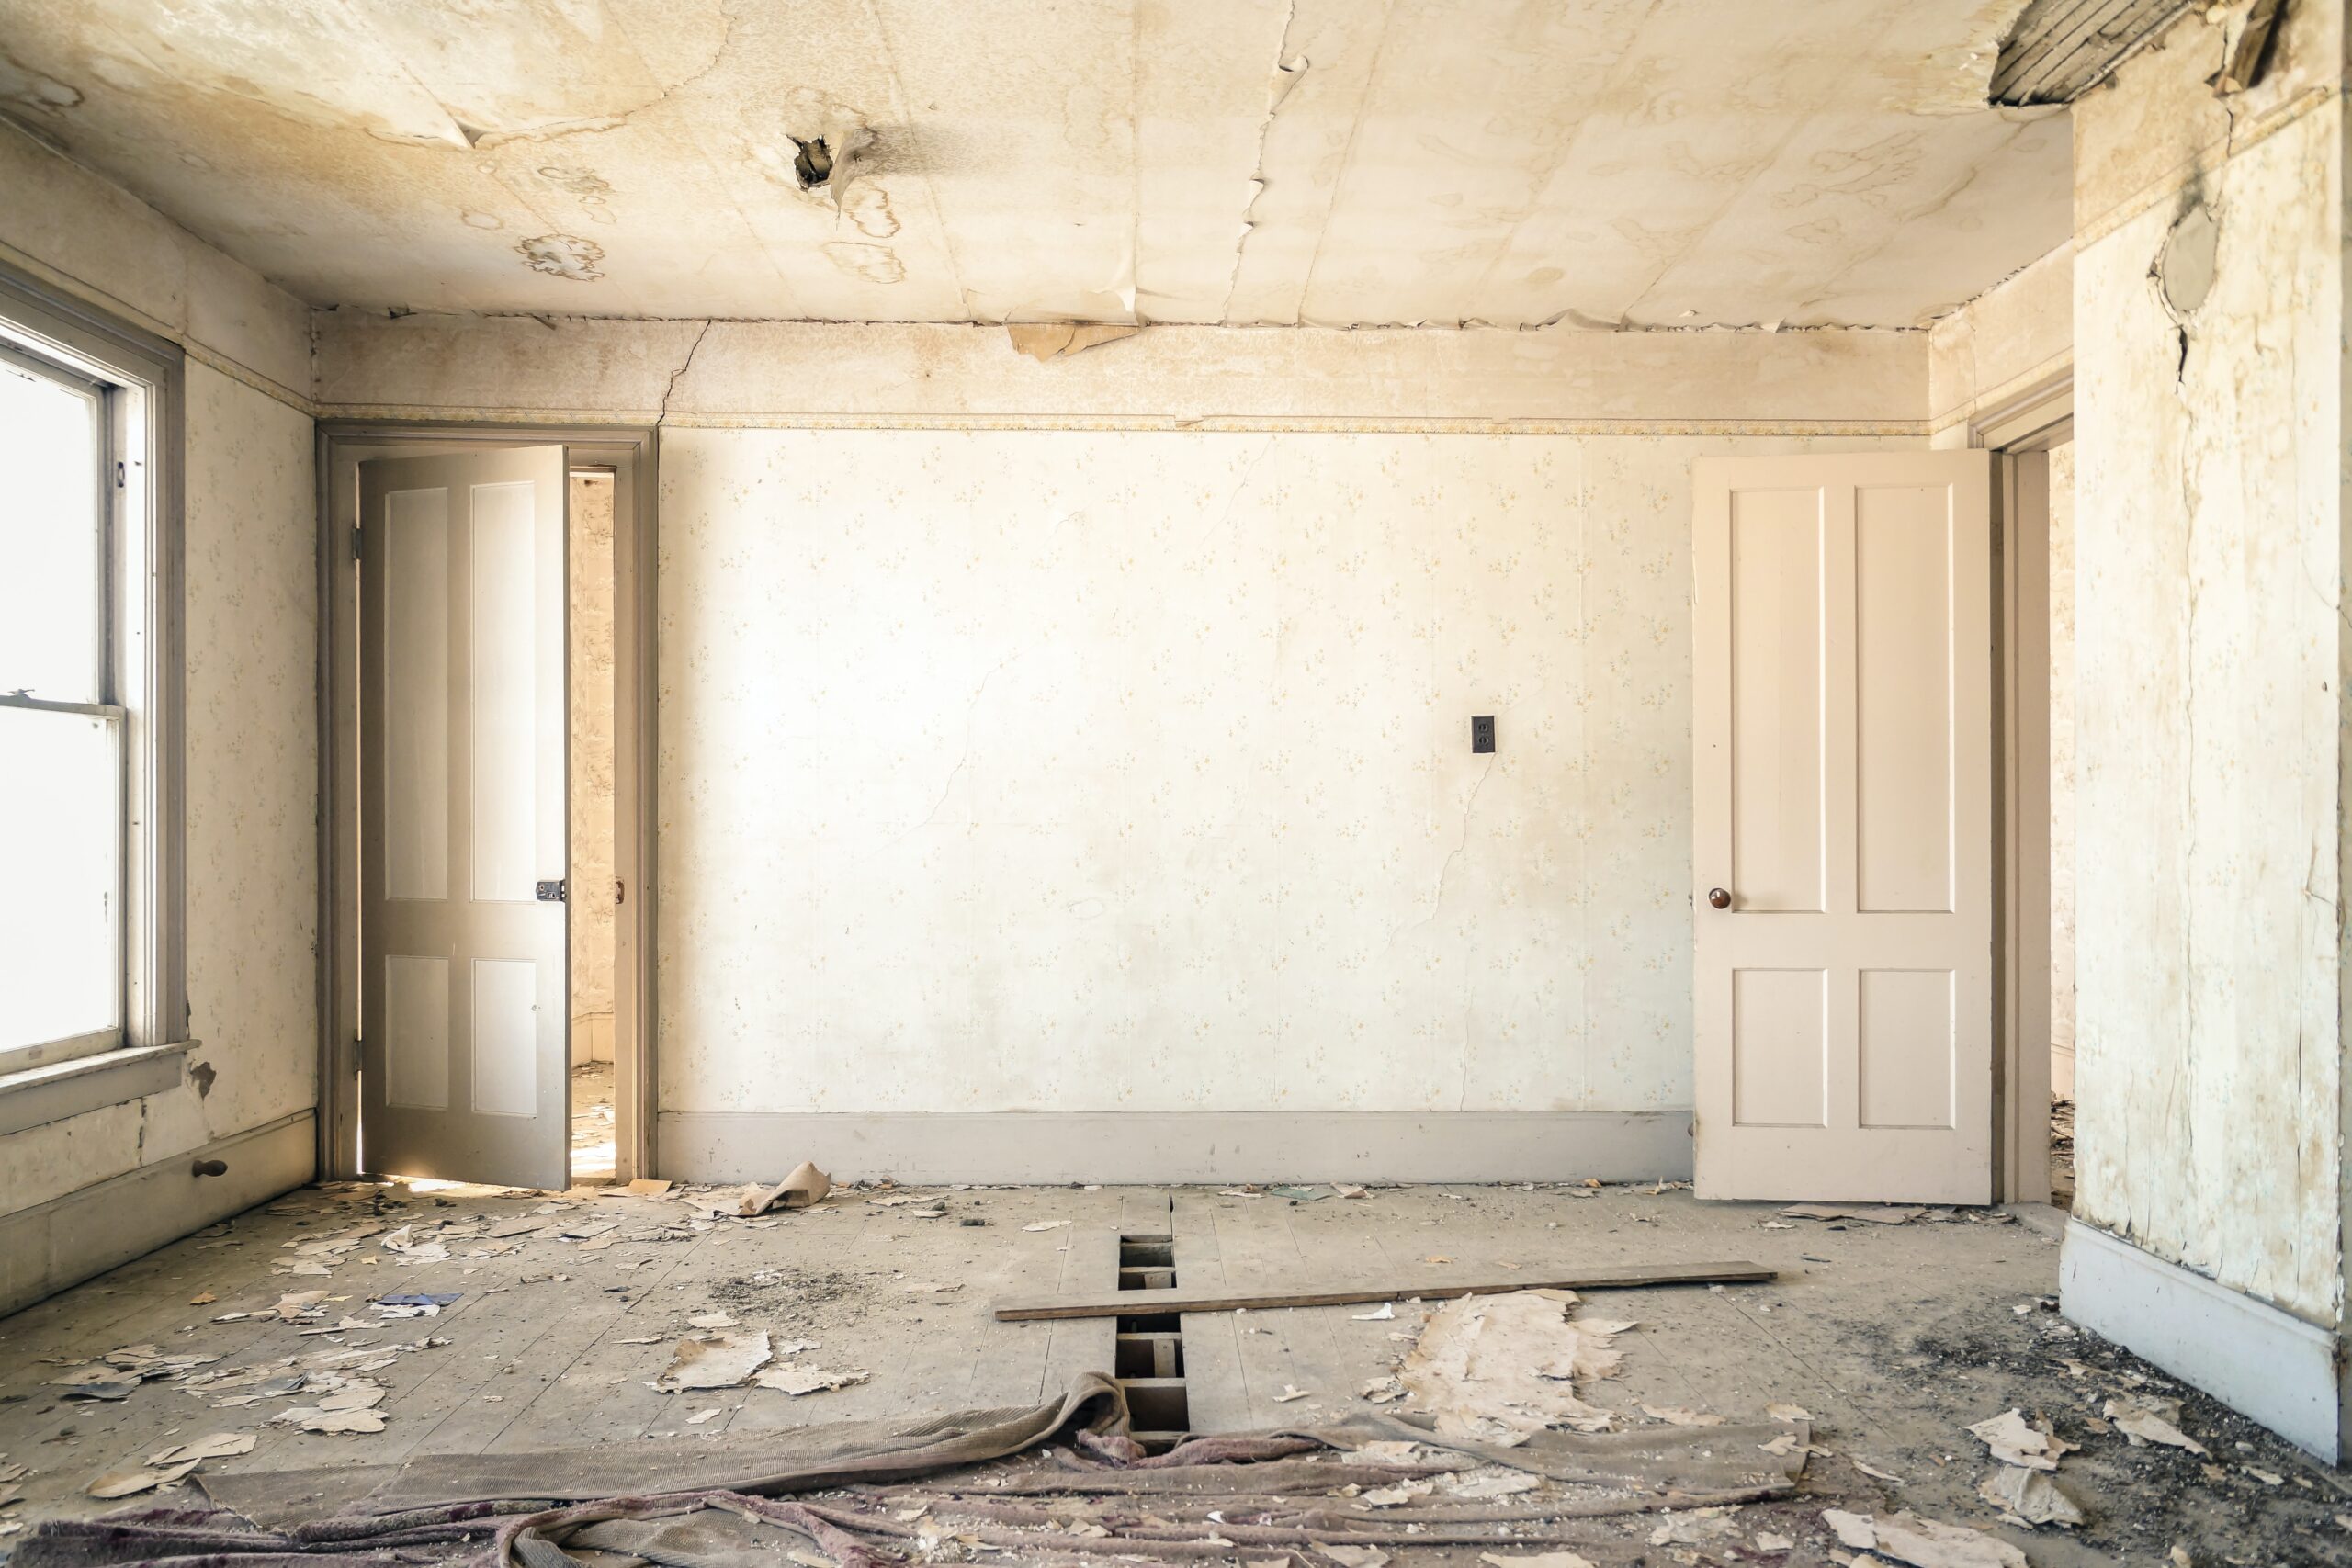
Drywall is a common building material used in homes and commercial buildings. It is durable, easy to install, and provides a smooth surface for painting or wallpapering. However, like any other material, drywall can get damaged over time. Whether it’s from accidental holes, water damage, or wear and tear, drywall repair is a necessary skill for any homeowner or property manager.
In this article, we’ll discuss six essential tips for effective drywall repair to help you tackle any damage that may occur.
Tip 1: Gather the Right Tools and Materials
by Carter Yocham (https://unsplash.com/@carteryocham)
Before starting any drywall repair project, it’s essential to gather all the necessary tools and materials. This includes a putty knife, sandpaper, joint compound, drywall tape, and a drywall saw. You may also need a drill, drywall screws, and a drywall patch kit for larger repairs.
Having all the tools and materials on hand will save you time and frustration during the repair process. It’s also a good idea to have a drop cloth or tarp to protect your floors and furniture from dust and debris.
Tip 2: Prepare the Damaged Area
Before making any repairs, it’s crucial to prepare the damaged area properly. This includes removing any loose or damaged drywall, sanding down rough edges, and cleaning the area with a damp cloth. If the damage is caused by water, make sure the area is completely dry before proceeding with the repair.
Tip 3: Use the Right Joint Compound
by Aditya Naidu (https://unsplash.com/@androiditya)
When it comes to drywall repair, not all joint compounds are created equal. There are two types of joint compound: setting-type and ready-mixed. Setting-type joint compound hardens through a chemical reaction and is best for larger repairs. Ready-mixed joint compound is easier to work with and is suitable for smaller repairs.
It’s essential to choose the right joint compound for your repair to ensure a smooth and long-lasting finish.
Tip 4: Apply Multiple Thin Coats
When applying joint compound, it’s best to use multiple thin coats rather than one thick coat. This will help prevent cracking and ensure a smooth finish. After each coat, make sure to let it dry completely before sanding and applying the next coat.
Tip 5: Use Drywall Tape for Larger Repairs
by Imani Bahati (https://unsplash.com/@imani_bht)
For larger repairs, it’s essential to use drywall tape to reinforce the joint compound. This will help prevent cracks from forming and provide a stronger repair. Apply the tape over the damaged area and cover it with joint compound, making sure to smooth out any air bubbles.
Tip 6: Sand and Prime Before Painting
After the joint compound has dried, it’s time to sand down any rough edges and prime the repaired area before painting. Sanding will help create a smooth surface, and priming will ensure the paint adheres properly and provides an even finish.
Bonus Tip: Know When to Call a Professional
While minor drywall repairs can be done by most homeowners, some repairs may require the expertise of a professional. If the damage is extensive, or if you’re not confident in your repair skills, it’s best to call a professional drywall repair service. They have the experience and tools to handle any repair, big or small, and can save you time and frustration in the long run.
Conclusion
Drywall repair is a necessary skill for any homeowner or property manager. By following these six essential tips, you can effectively repair any damage to your drywall and maintain a smooth and beautiful finish. Remember to gather the right tools and materials, prepare the damaged area, use the right joint compound, apply multiple thin coats, use drywall tape for larger repairs, and sand and prime before painting. And if the damage is extensive, don’t hesitate to call a professional for help.
With these tips in mind, you can confidently tackle any drywall repair and keep your walls looking their best.
